

Is your vehicle’s paint looking dull? Is the occasional wax job no longer providing the results you are looking for? Well, this guide will set you off on the right path to learning paint correction and acquiring that glossy and protected paint finish that you desire.
This is an introduction to paint correction for beginners. You will need to have realistic expectations and not expect perfect results with these conservative polishing methods . I want to provide you with a safe approach that will allow you to learn the craft of polishing and see good results.
You should always practice on your own vehicle or an old body panel first. These are conservative techniques, but mistakes can happen. You will be operating a powerful and abrasive machine. Be sure to take your time and minimize distractions while polishing.
It will take a bit of work, but in a weekend you can achieve great results that will last with proper maintenance. Here is a quick overview of what we will cover…
–Begin by Evaluating the Paint Finish
–Equipment and Products Needed
–Choosing a Machine Polisher
–Compound, Polish, and Pad Options
–Surface Decontamination
–Ideal Environment for Paint Correction
–Preparing the Surface for Paint Correction
–Paint Correction Tips
–How Much Product to Use
–Spread the Product on Low Speed
–Polisher Speed, Arm Speed, and Pressure
–Keep the Pad as Flat as Possible
–Number of Passes to Make
–Keep your Pad Clean
–When to Perform a 2nd Polishing Step
–Preparing for Protection
–In Closing
Begin by Evaluating the Paint Finish
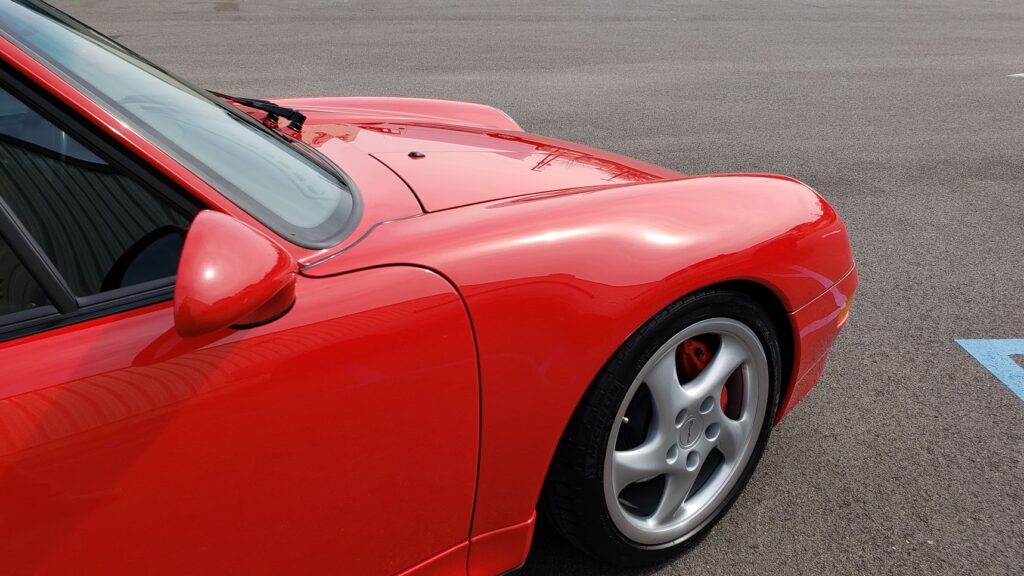
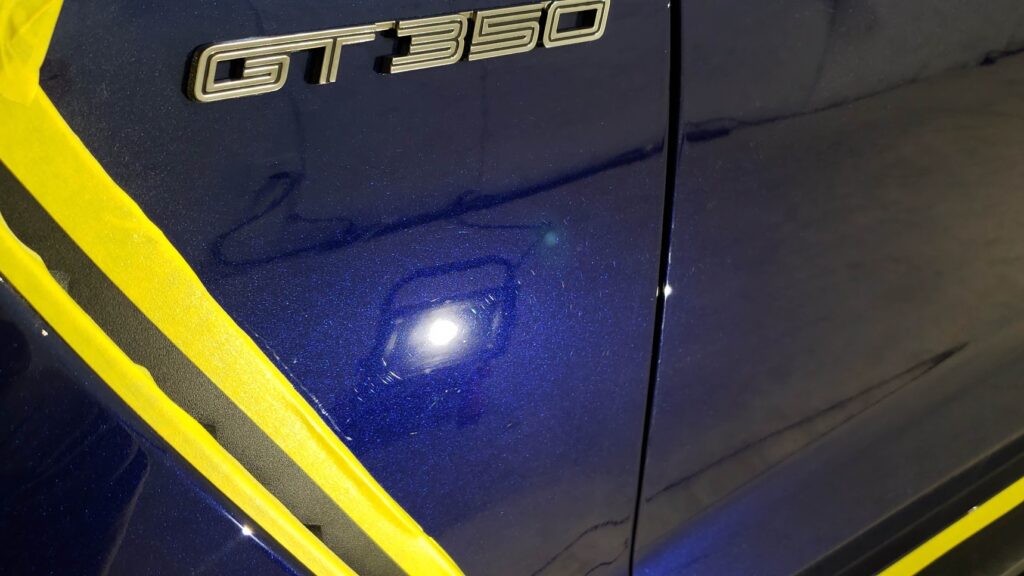
You want to begin by taking a look at the condition of the paint finish that you will be working on. The condition of the surface can tell you a lot about how the vehicle’s finish has been taken care of. We will cover a few things to look for here, but you can always refer to our article What is Paint Correction for a more thorough explanation of paint defects and the process.
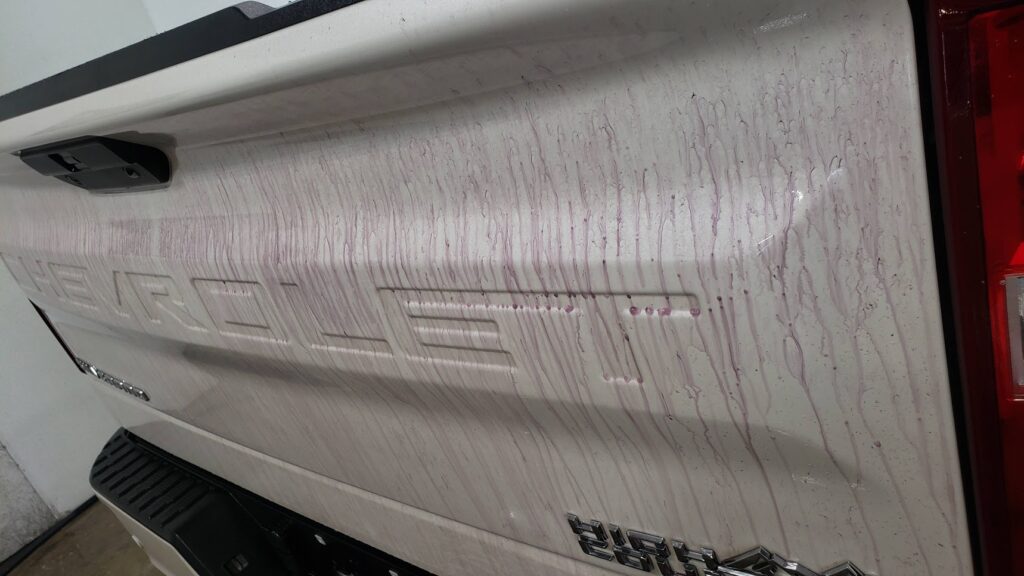
We will focus on removing swirl marks, light oxidation, surface water spots, and other light defects. The goal will be to enhance the clarity and depth of the paint finish, not perfect it. It would be best to consult a professional if your paint finish has heavy oxidation, etching, deep scratches, etc.
Run your fingers across the paint surface when the vehicle is clean. Does the paint feel overly rough with embedded contaminants? If so, then it may need a more aggressive decontamination process. This might cause more damage to the surface that will need to be removed during the paint correction process. We will cover more on surface decontamination later.
You will also want to look for any signs of clear coat failure. Polishing could make this worse by removing more material. This would further expose the base coat to the elements. If your clear coat is showing signs of failure, it will need conventional refinishing by a paint & body shop to fix the issue .
Equipment and Products Needed
Now that we know what to look out for, let’s talk about the basic equipment and products you will need to get the job done. You will need items for surface decontamination, prep, paint correction, and final protection.
- Dual action polisher
- Polishing pads
- Polish/compound
- Polish removal towels
- Pad brush/compressed air
- LED lights
- Clay bar
- Spray lubricant
- Iron remover
- Oil and polish remover or isopropyl alcohol solution
- Painters tape
- Face mask
- Sealant, wax, or coating
Choosing a Machine Polisher
There are quite a few options on the market when it comes to machine polishers. For a beginner I would recommend a budget friendly dual action polisher with a shorter throw. You can always upgrade in the future as you get more comfortable and experienced. Some examples in this category would be the Griot’s Garage G9 and the trusty Porter Cable 7424 XP. The Porter Cable has been around for some time. The good thing about it is that you can swap to a 3” backing plate to access tighter areas on a vehicle. This saves you from having to buy a dedicated 3” machine if you are on a tight budget.
If budget is not an issue, I would recommend looking into the Rupes or Flex line of polishers. Both of these companies sell professional grade machines in many variations. I use the Rupes LHR15, LHR75E, and the iBrid Nano. That is a 5 inch machine, a 3 inch machine, and the Nano can swap between 1 or 2 inch backing plates to get into the tight areas.
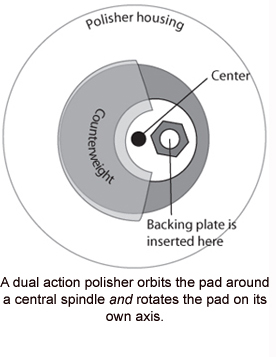
Dual action polishers have a backing plate that spins on a shaft that is offset from center. While the center spindle turns the pad and backing plate rotate outward in a circular offset motion, orbiting around the spindle. The machine’s throw is measured by the offset distance that it orbits outward. An 8mm throw would be the least aggressive and a 21mm machine would be the most aggressive at leveling down defects and covering surface area. A short to medium throw dual action machine would be much safer and easier to use for a novice.
Compound, polish, and pad options
Now that you have a good idea on what to look for in a machine, let’s talk about compounds, polishes, and polishing pads.
I would look into companies like Shine Supply, Griot’s, or Sonax and Jescar from Obsessed Garage. They all have great lines with beginner friendly products. I suggest a medium cut compound such as Classic Cut from Shine Supply, Griot’s Correcting Cream, Sonax CutMax, or Jescar Correcting Compound. Most of these will give you great cutting results while still finishing down with a foam pad.
It is wise to have a finishing polish available in the case that a 2nd step is needed. It is possible that a slight haze will occur after compounding and you will need a finer polish to remove. Shine Supply Classic Polish or Sonax Perfect Finish are a couple of my favorites. This step will really amplify the gloss and depth of the finish.
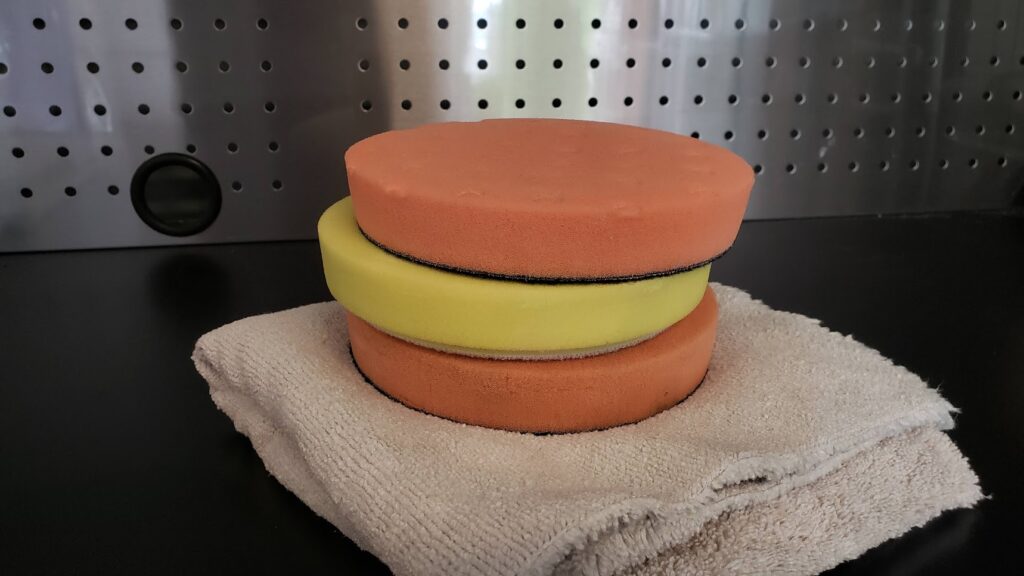
You should learn with light to medium foam cutting pads. They are less aggressive and more forgiving than a microfiber or wool cutting pad. They are safer to use and you can still achieve great results.
I have used many pads over the years and have always liked Lake Country’s line up of foam pads. The yellow cutting and orange light cutting pads specifically. These two do well at removing swirls and lighter defects on most medium to soft paint finishes. You may need to step up to a heavier foam cutting pad to see results if you are working on a vehicle with a harder clear coat. Most German vehicles fall in this category. Lake Country’s black and white polishing pads work well if the vehicle is in need of a finishing polish step.
I can usually correct an average sedan or small truck using 2-4 pads per polishing step. It all depends on how often you are brushing or blowing out your pad with compressed air. This will keep it from getting gummed up. A good rule of thumb is to have a few of each pad on hand just in case.
Surface Decontamination
Surface decontamination is the process of removing embedded contaminants from the paint finish. This ensures a smooth surface for polishing.
An iron removing chemical such as CarPro Iron-X, should be used after washing the vehicle. This dissolves embedded metallic contaminants from the paint surface. This could be the result of industrial fallout, deposits from your braking system, or even exhaust pollutants. Over time, these deposits can corrode and eat away at your vehicle’s clear coat. Follow the instructions for your iron remover of choice.
Next a clay bar and lubricant should be used to remove any remaining surface contaminants. I recommend using a lighter grade clay bar that will result in less marring to the paint finish. You may need to do more than one pass to remove contaminants using a finer grade clay. This will pay off during the correction process.
You can use a specific clay lubricant or a detail spray to reduce friction when claying the surface.
Finish drying the vehicle and blow out any water from the cracks with compressed air. Water dripping out from under the mirror or trim while polishing can be a nuisance and make a mess!
Ideal Environment for Paint Correction
You will want to perform the paint correction process indoors in a controlled environment. Doing so outside in the hot sun could spell disaster for a beginner! There are some correction products designed to work in the sun, but the majority of them are not. You also have to factor in elements like wind, dust, etc. that can complicate the process even more.
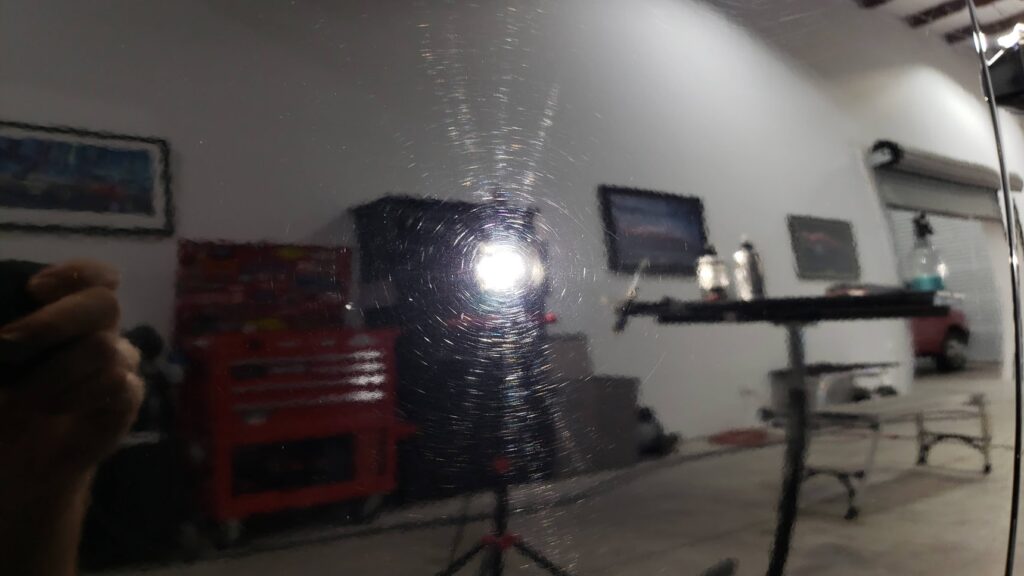
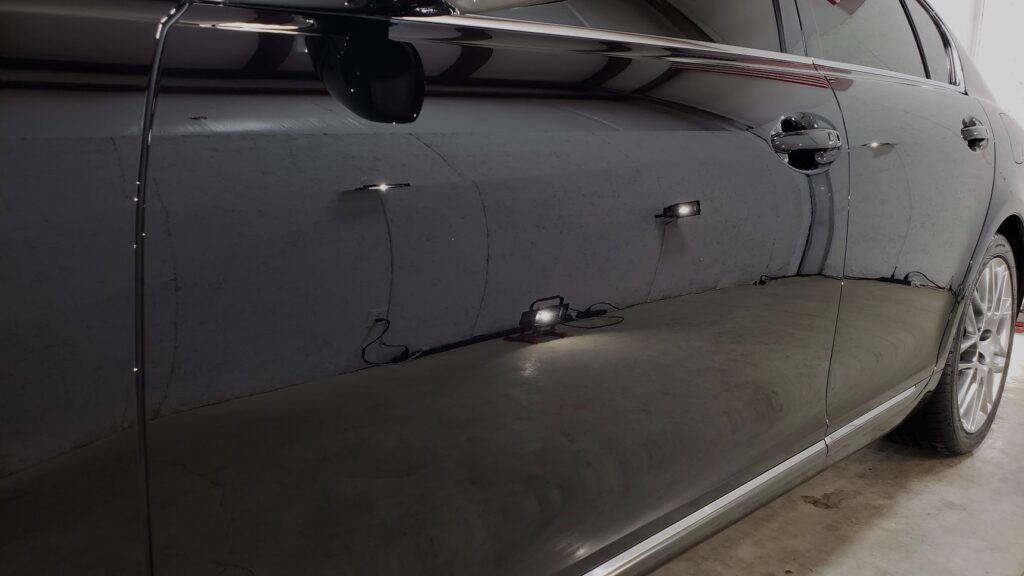
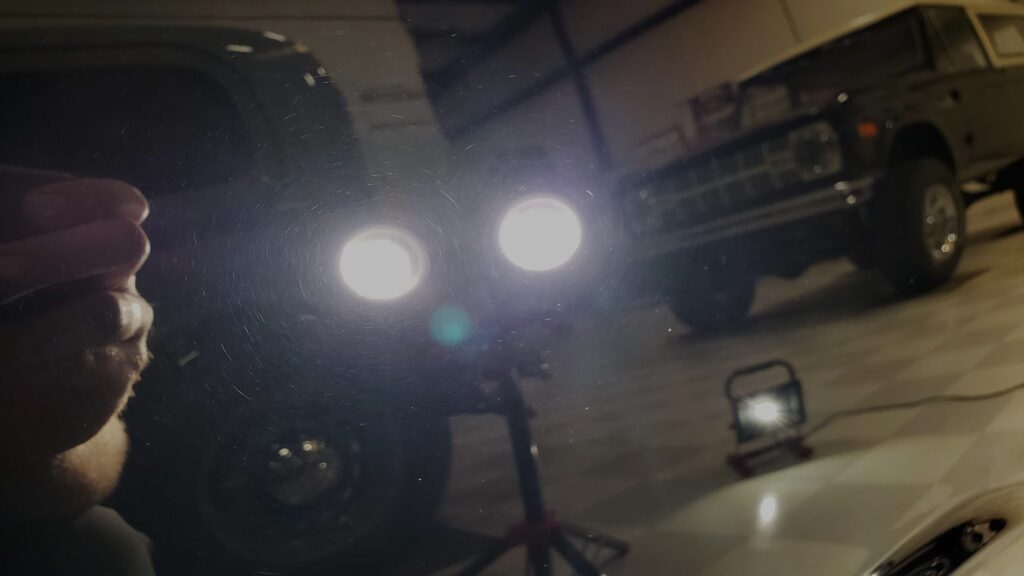
You’ll also need an LED light or two on hand to check your work. These could be LED work lights on adjustable tripods or something as simple as a handheld light.
Preparing the Surface for Paint Correction
Now that we have a smooth surface you need to remove any remaining soap residue, oils, or waxes. Use an oil and polish remover or IPA (isopropyl alcohol) solution to do this. If using isopropyl alcohol, dilute it 50/50 with distilled water in a spray bottle. Spray one panel at a time and wipe clean with a soft microfiber towel until every panel is clean.
Next, you will want to protect your trim, emblems, vinyl decals, and weather stripping. Potential staining or damage can occur during the paint correction process. I like to wrap the edges of these items with 1” automotive masking tape for protection.
Paint Correction Tips
At this point you should now have a fully prepped vehicle free of contaminants. There are a still few things to cover before grabbing your machine and getting to work.
How much product should you use?
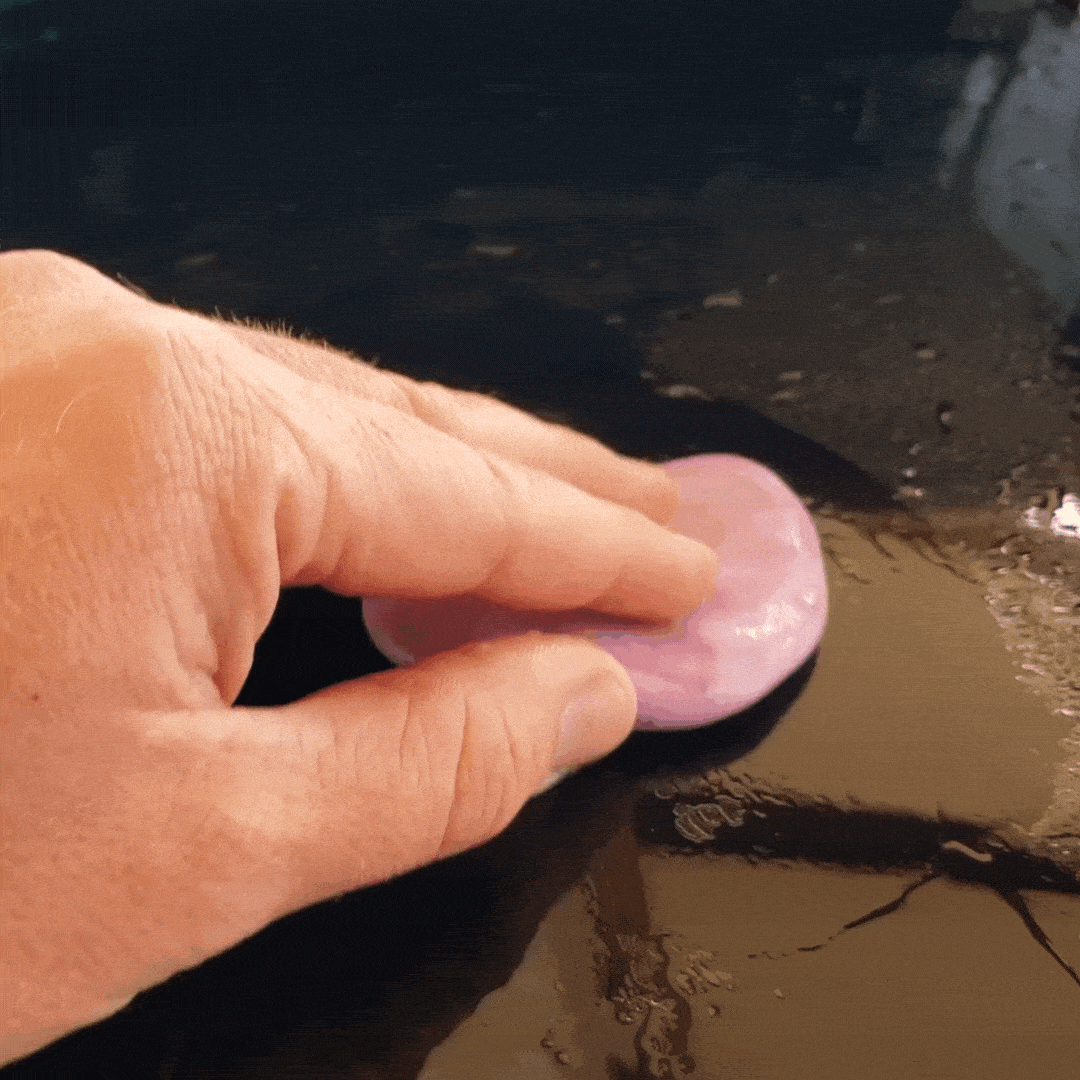
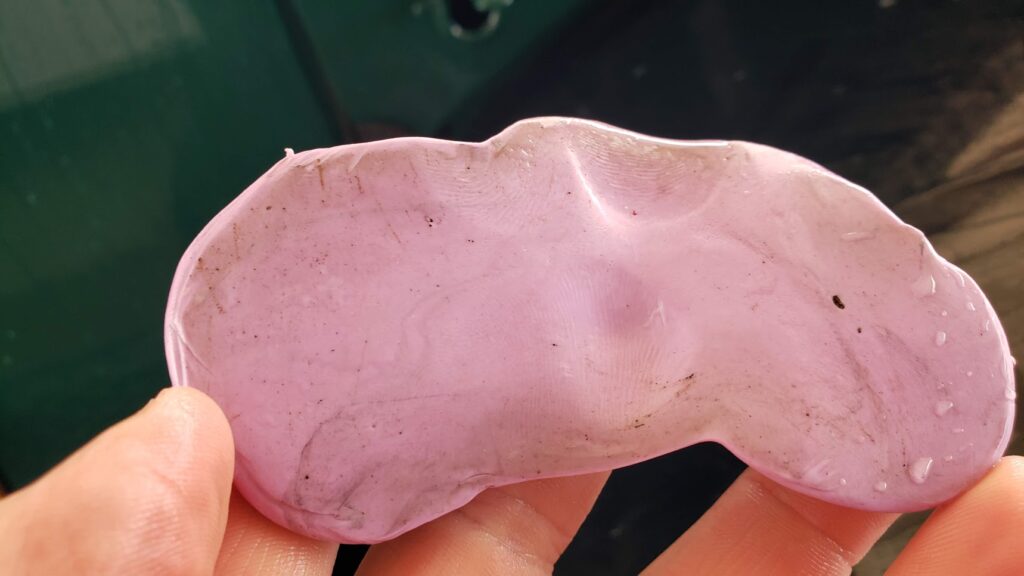
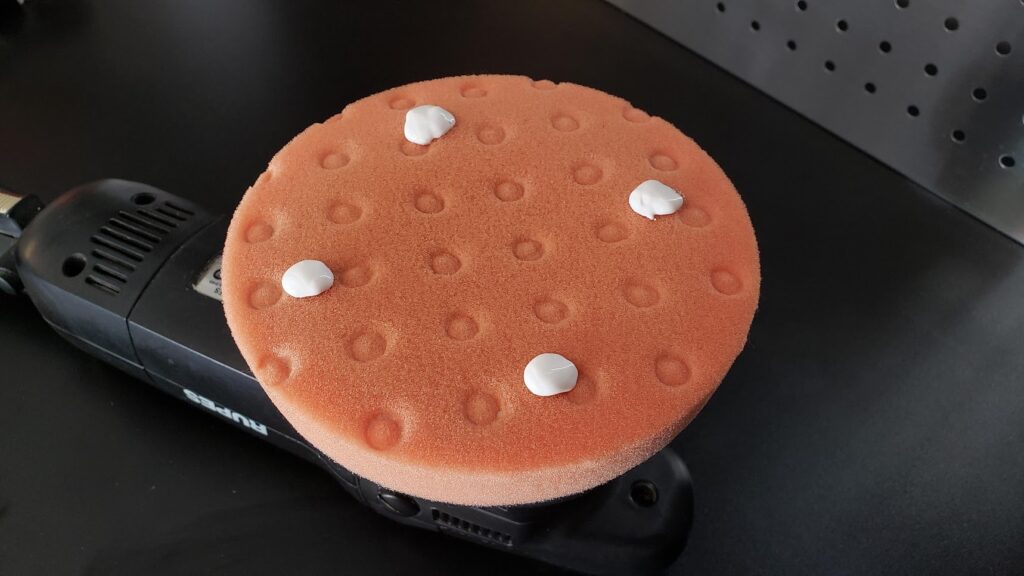
For the first pass, you will want to use a bit more product to prime the pad for polishing. You do not want to overload the pad, but use enough to be able to spread an even layer over the surface of the dry foam pad. I usually use 5-6 pea sized drops of product and then spread and work it into the pad a bit with my fingers.
After the pad is primed for the initial pass, you can use 3-4 pea sized drops of product for the rest of the session. The idea is to find a good balance of product. Not too wet so that it slings everywhere, but not so dry that it is not effective. Different pads and dry paint surfaces will need different amounts, so adjust accordingly.
Spreading the product on low speed
Apply the product to the pad and place the pad on the panel. Use speed 1 to slowly spread the product in a roughly 2’x2’ section. This evenly distributes the product on the surface and prevents it from slinging when you turn the speed up.
Polisher speed, arm speed, and pressure
For a beginner doing a mild paint correction with a foam cutting pad, use a polishing speed of 3-4. This could vary depending on your particular machine and its power. Always be conservative and adjust if necessary depending on the results of the pass.
Arm speed should be at a slow to medium pace with moderate pressure on the polisher. Always keep the machine moving and do not concentrate on one area as you do not want to overheat the panel or the pad. It is good practice to feel the panel for heat after each pass and adjust your speed/pressure if needed.
[img/vid]
Keep the pad as flat as possible
You always want to keep the pad flat and in contact with as much of the panel as possible. This will not always be 100% contact as vehicles have so many different contours and edges. You will achieve better, more efficient results by focusing on your contact patch.
[img]
Number of passes to make
Generally 4 passes over a section in a criss cross pattern will be adequate. This allows the product time to work and achieve results. To cover a roughly 2’x2’ area you should make 3-4 horizontal rows overlapping one another and proceed to make 3-4 vertical overlapping rows. Repeat this once more, remove the product and inspect your results.
[img/vid of overlapping rows]
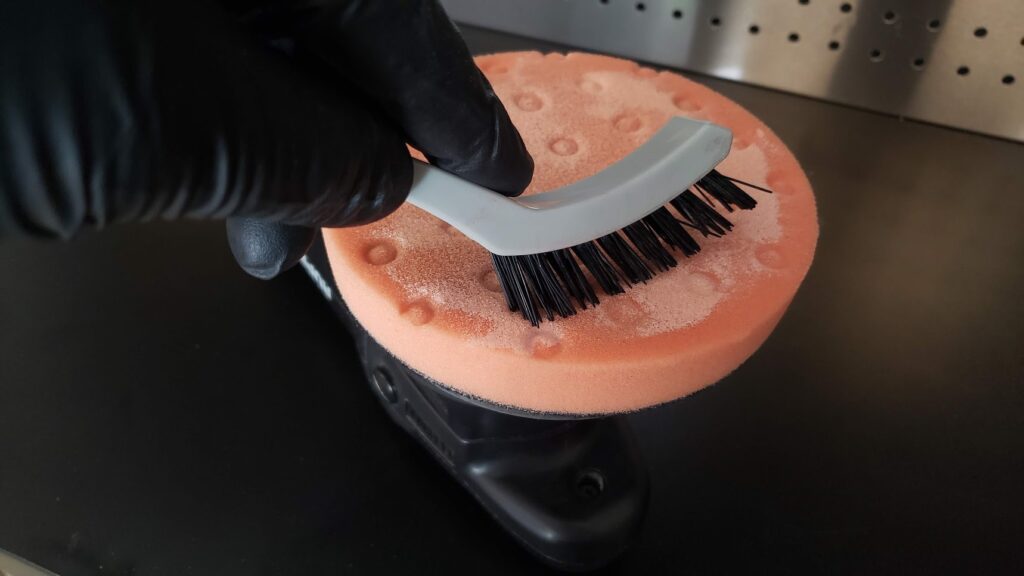
Keep your pad clean
Between each pass you want to brush or use compressed air to blow the build up out of your polishing pad. A gummed up pad will not polish effectively and make more of a mess than needed.
When to perform a 2nd polishing step
After you have finished up with your foam cutting pad and compound, inspect the finish with a LED light. You want to look for any haziness or marring on the surface. If it is looking a bit cloudy, you will want to do a final polishing step with a finishing pad and polish to clear up the haze.
Before doing this step you will want to blow most of the compounding dust from the surface. You could also do another quick wipe down with your oil and polish remover.
Your hand pressure on the polisher should be lighter to remove finer defects. It also may not need as many passes over the surface as the compounding step. Make a couple of passes, wipe, and inspect with your light before continuing. On some soft clear coats you will need to have a slow and steady arm speed to finish down the marring or haze. For most vehicles a medium speed will do.
Preparing for protection
So now you have finished up with your paint correction. If there is a lot of dust left over, you will need to give the vehicle another quick wash and dry before continuing.
Now would be a good time to do your finishing details to the vehicle. Wipe out your door jambs, dress tires, detail wheels, polish exhaust tips, etc. Give the panels a final wipe down with your oil and polisher remover. This will prep the surface for your protection of choice, whether that be a wax, sealant, or coating.
We will have more information on the different forms of protection coming soon.
In Closing
I hope that this beginners guide will be a helpful resource to get you started in the world of paint correction.
This is the best way to learn the process safely and get some experience before moving on to more advanced polishing methods.
These methods may not leave you with perfect results, but you should definitely see a noticeable improvement in gloss and slickness!